
RECIPES
AJVAR - THe Balkan’s Secret Sauce

Ingredients
2 pounds red bell peppers (about 5 medium peppers)
1 medium eggplant (about 3/4 pound)
5 teaspoons freshly minced garlic (about 5 medium cloves)
1/4 cup sunflower or olive oil
1 tablespoon white vinegar
1 teaspoon Kosher salt, plus more to taste
Freshly ground black pepper to taste
If you’d like a spicy version, you can incorporate some spicy peppers.
Instructions
Warm your grilling surface. Could be a gas BBQ, a coal BBQ, or simply a grill pan in your kitchen, or even the gas grill on your stove top. Each option will give a different flavour in the end, but you’ll still get Ajvar. If you can find a way to impart some natural smokiness - then you’re definitely winning.
Clean and lightly oil the grilling surface if applicable.
Set peppers on to your cooking surface, cover them grill and begin to roast peppers, slower rather than faster, until all of the skin is charred. Place peppers on hot side of grill and cook until blackened all over, 10-15 minutes. Transfer pepper to a large bowl, cover with plastic wrap, and let sit until cool enough to handle, about 20 minutes. Remove charred skin, seeds, and cores from peppers.
When roasting peppers over a fire or in the oven, check on them frequently, and turn them, so they blacken evenly. Remove the ones that are done immediately from the oven. The skin should blacken and peel away, but the meat should never darken. It's crucial that you place the roasted peppers in a plastic bag that will be closed, or a pot with a lid on top. The steam that is created from the heat will soften the peppers which will make them easier to peel. Never wash the roasted peppers with water, clean them only by hand or with a knife. Be sure to remove each and every seed and piece of skin and then place them in a mesh bag and allow to drain most of the liquid. For the best results, you can leave the peppers to drain over night.
While the peppers are cooling, pierce skin of eggplant with a fork all over. Place eggplant on cool side of grill. Cover and cook until skin darkens and wrinkles and eggplant is uniformly soft when pressed with tongs, about 30 minutes, turning halfway through for even cooking. Remove eggplant from grill and let sit until cool enough to handle, about 10 minutes. Trim top off eggplant and split lengthwise. Using a spoon, scoop out flesh of eggplant; discard skin.
Place roasted red peppers, eggplant pulp, and garlic through a meat grinder to get the most authentic texture. Alternatively, you could use a food processor fitted with a steel blade. Pulse until roughly chopped. Add in oil, vinegar, and salt and pulse until incorporated and peppers are finely chopped.
Transfer mixture/sauce to a medium saucepan. Bring to a simmer over medium-high heat, then reduce heat to medium-low and simmer for 30 minutes. Once on the stove, never stop stirring (use a wooden spatula), or your ajvar will burn. Remove from heat and season with salt and pepper to taste. Let cool to room temperature then use immediately or transfer to an airtight container and store in refrigerator for up to two weeks.
Some people also can and store their ajvar for longer periods of time. It’s beyond the scope of this more “ready to eat” approach.
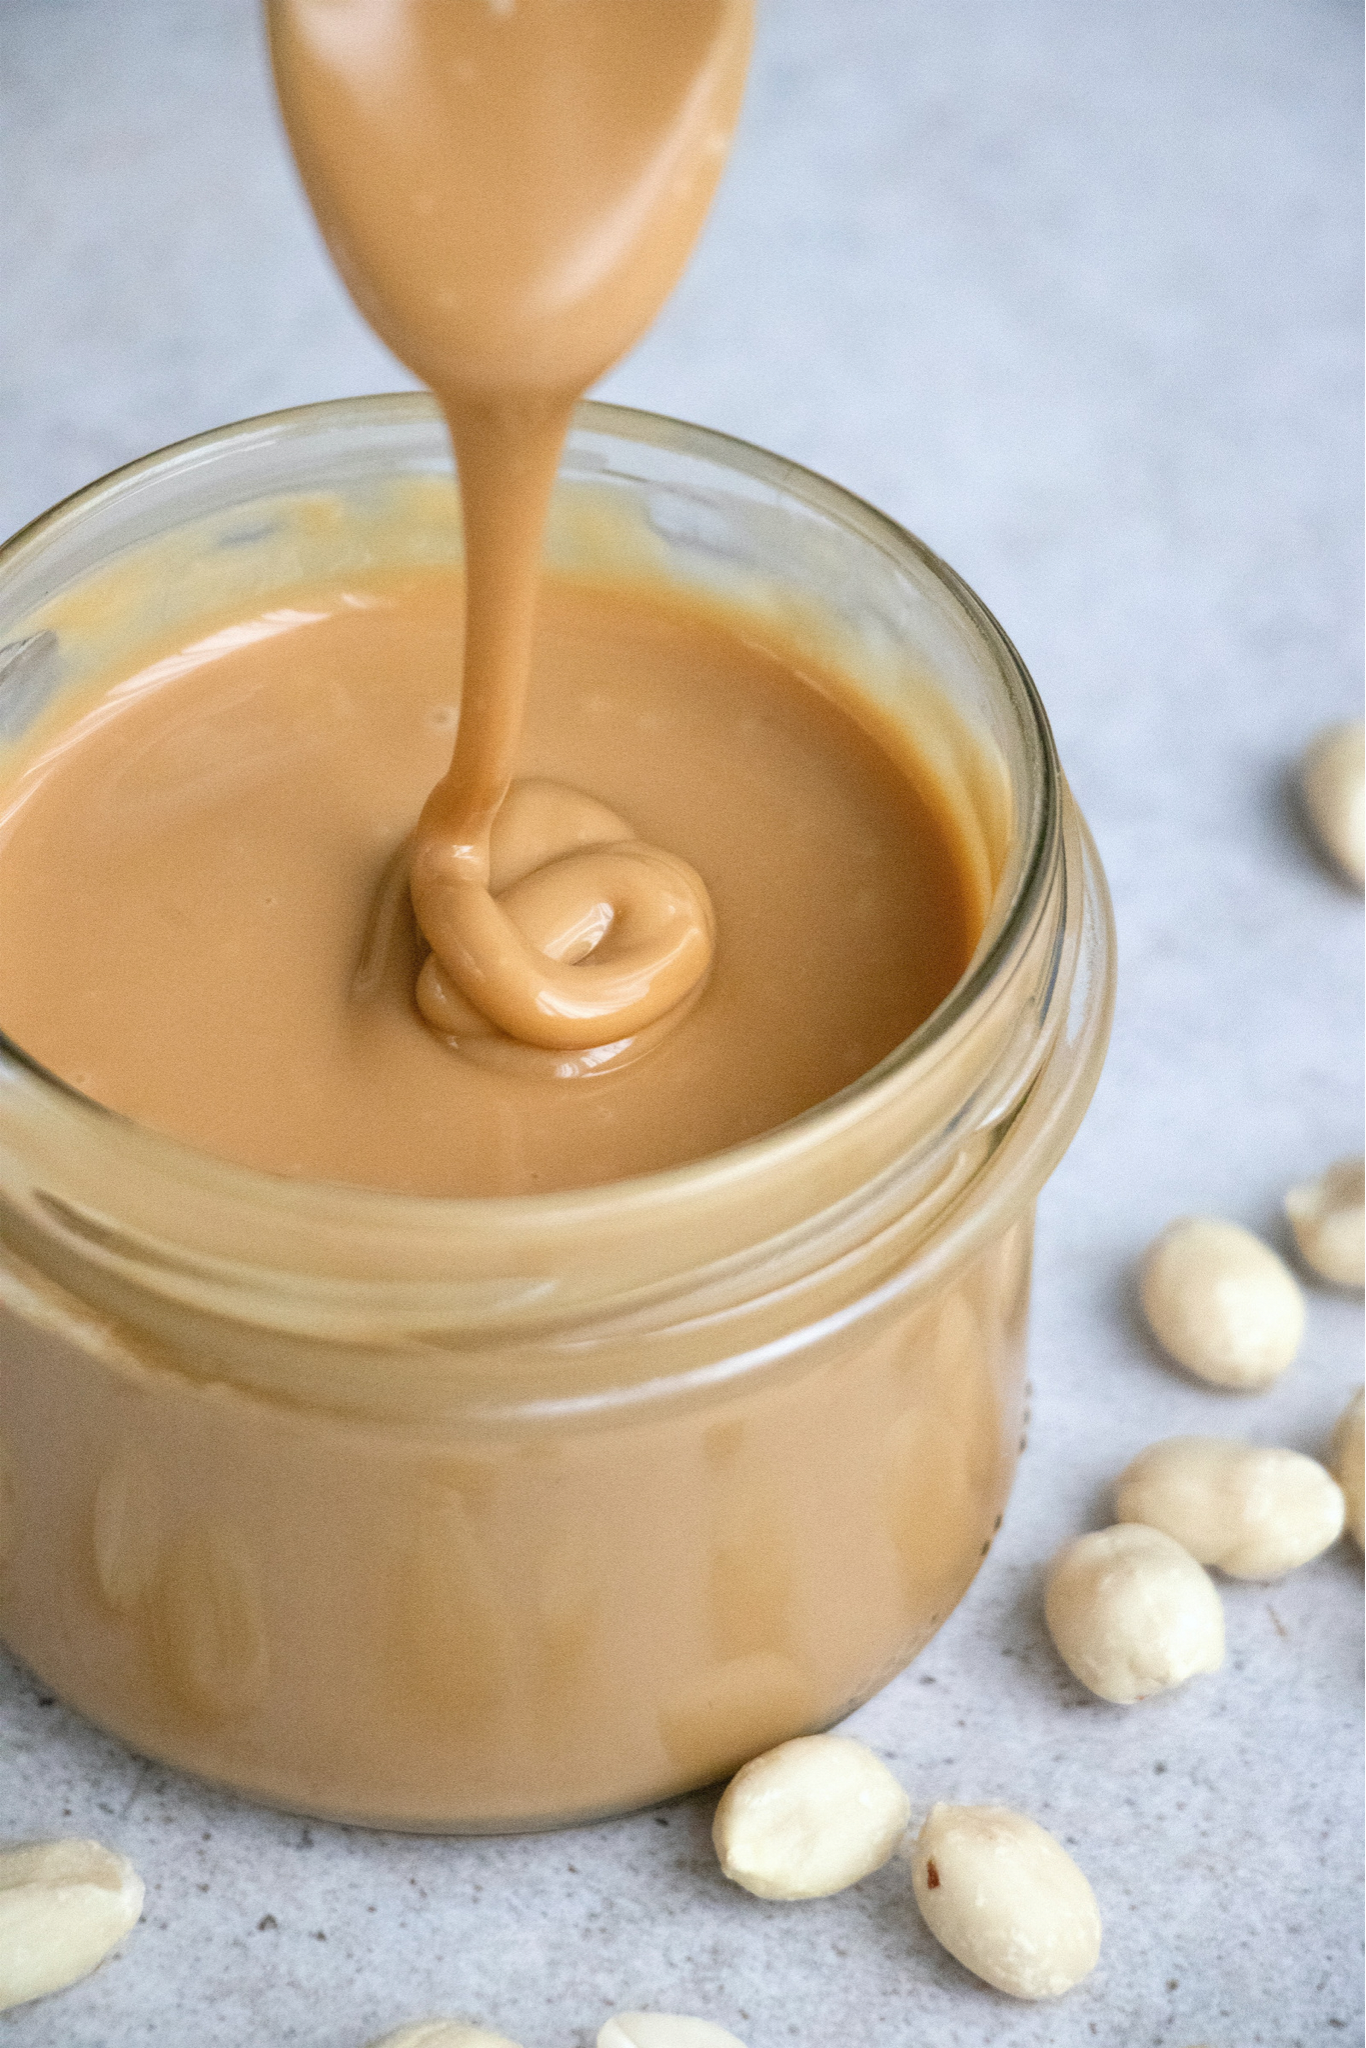
Nut and seed butters are a wonderful source of vitamins and minerals.
If you happen to have a high-powered blender like a VitaMix or Blendtec - you can easily make your own raw or roasted nut butters in those devices. Alternatively, you can find many of these same kinds of butters commercially available - from local artisanal companies as well as larger more readily available kinds available in your classic grocery stores.
For those with nut allergies or sensitvities, we’ve tried to incorporate some seed varieties too, like sesame (tahini), sunflower, and pumpkin seed.
Here are a list of some of my faves.
Almond and sesame seed butter are the easiest to find pre-prepared. They’re as common these days as peanut butter. Some societies have been eating sesame seed paste/butter for a very long time. Both of these are particularly high in vitamin E, an important antioxidant that helps to protect cells against oxidative damage and strengthens immune function.
Hazelnut butter has all of the “Nutella” vibes. In fact, with a little experimentation, you can get a very healthy approximation of that delightful stuff. If you grew up in a European home, you ate copious amounts of chocolate goodness. But hazelnuts alone are delightful and contain decent amounts of vitamin B6, folate, phosphorus, potassium and zinc. Additionally, it is a rich source of mono and polyunsaturated fats and contain a good amount of omega-6 and omega-9 fatty acids,
Sunflower seed butter is definitely your “bang for buck” option, as sunflower seeds are far more affordable than some of the others on this list. Moreover, using the sunflower seed butter for various creamy spreads or dressings is easy enough to do and can go either the sweet or savoury direction. Sunflower is particularly high in folate, a B vitamin essential for red blood cell production, healthy cell division, and development of the brain and spinal tissue. This seed butter also provides the mineral selenium, which is essential to thyroid hormone metabolism as well as acts as an antioxidant.
Pumpkin seed butter has a very familiar flavour and like sunflower seeds above, can be used in both savoury and sweet applications. Also, the Mediterranean flavour profiles work well in both directions. Moreover, it is an excellent source of non-heme iron, the plant-based type of iron that is better absorbed when consumed with foods that are high in vitamin C. Pumpkin seed butter also contributes zinc and magnesium. Both minerals play an important role in immune function, while zinc is essential to wound healing and protein synthesis, and magnesium specifically supports healthy bone structure and production of powerful antioxidants in the body. Vitamin K is another micronutrient essential to healthy bones.
Cashew butter is smooth and creamy which might surprise given the fact that it’s actually one of the slightly lower fat options on the list. Although it doesn’t contain omega-3 fatty acids, it’s one of the best sources of monounsaturated fatty acids, essential amino acids, and magnesium. These nutrients are beneficial for blood pressure, sugar and cholesterol control, bone health, the immune system, and your metabolism.
Peanut butter is the classic. This ain’t going anywhere. It’s actually a legume, but is so delightful and really packs a flavour punch in both raw and roasted formats. is an excellent source of Niacin (vitamin B3), a key component in energy production enzymes and antioxidants that prevent against excessive tissue damage! That’s nuts!

Ingredients
For The Chickpea "Tuna"
1 can chickpea smashed
1/3 cup red onion finely diced
1/3cup celery finely diced
2tbsp dill finely chopped
2tbsp parsley finely chopped
2tbsp dill pickles finely diced (or any of your favourite flavoured gherkins, try some spicy ones for fun)
1/4tsp chili powder (omit if you prefer no heat)
juice of 1 lemon
salt and pepper to taste
If you want to mix it up a bit try adding some finely minced roasted seaweed. Adds a deep umami and saltiness.
For Your Lemon Tahini Sauce
2tbsp tahini
2tsp water
1/4 cup your favourite vegan mayo (
juice of 1 lemon
1tsp red wine or sherry vinegar
salt and pepper to taste
If You Want To Make A Sandwich
Serve on toasted sourdough bread, sprouts, lettuce and tomato
Instructions
Begin by straining, rinsing and drying your chickpeas. Place in a bowl and mash with a fork until your desired consistency. I like to leave it a little chunky with some parts more mushed.
In the same bowl, toss in your red onion, celery, dill, parsley, spicy pickles, chili powder, lemon and salt and pepper. Mix well and set aside.
Next, make your quick sauce. In a bowl, whisk together tahini with water so it’s not as thick. Next, add in vegan mayo, lemon juice, vinegar and salt and pepper.
Pour over your chickpea mixture, toss well and marinate in the fridge for up to 30 minutes. Serve in sandwiches with sourdough bread, sprouts, lettuce and tomato. You can also serve in lettuce cups or in your favorite vessel!

Ingredients
3 large carrots shaved into “peels” with a peeler
1 tsp sea salt
¾ cup hot water
1 tsp nori granules (I blended a nori sheet in a spice grinder or blender until fine)
3 tbsp caper brine
2 tbsp rice vinegar
1 tbsp white miso paste
3 tbsp soy sauce or tamari
1 tbsp maple syrup
1 tbsp liquid hickory smoke
1 tsp lemon juic
1 tsp garlic powder
¼ cup olive oil
Instructions
Place shaved carrots and 1 tsp of salt into a pot, cover with water and bring to a boil. Boil until tender, but far from mushy. They should hold their shape but be flexible.
Transfer carrots to ice-cold water immediately. This will stop them from continuing to cook. Allow to cool and drain in colander for 2 mins.
Meanwhile, in a container or small bowl, whisk together, hot water, nori, caper brine, rice vinegar, miso paste, maple syrup, liquid smoke, soy sauce, lemon juice, garlic powder, and olive oil. Set aside.
Place in the fridge and allow to marinate for a few hours, I find that at least overnight is best! The longer you marinate, the more the carrots will have the texture and consistency of lox.
When you’re ready to use, remove carrot lox from the fridge and allow to come to room temperature.
Serve with toasted bagels, smeared with vegan cream cheese and topped with dill, capers and red onion.

These are the BEST Vegan Waffles! They are crispy, so fluffy, and very simple with only pantry ingredients! I share some full-proof tips so they're perfect and great for meal prep!
Ingredients
1 1/2 cups (350ml) unsweetened soy or coconut milk or any vegan milk
2 teaspoons apple cider vinegar
2 cups of your best flour (240g) - the more whole grain, the more milk will be need to get the consistency right.
1.5 tablespoon baking powder
1/2 teaspoon sea salt
1 tablespoon brown sugar or maple syrup
melted coconut oil or melted vegan butter to grease/lubricate your pan.
1/2 teaspoon vanilla extract
toppings!!! What are your faves? Over here at the Mirkovich home, it’s fruit - mostly berries - but lots of pomegranate, apple, and pear too!
Oh, and don’t forget the coconut whip topping from the grocery store.
Instructions
Mix the nut milk, vanilla extract and the lemon juice or ACV together in a small bowl/measuring cup. Set aside for about 5 minutes - this will make the vegan buttermilk. This is just a great tip in all vegan baking, FTR.
In a large bowl, sift the flour, baking powder and salt. The sifting really helps to make the waffles fluffy.
Add the dry ingredients into the sweetened buttermilk mixture, and using a spatula, gently mix the batter until JUST combined. It's okay (and normal) to have some lumps. The batter should be “batter” like and scoopable but pourable.
Turn on and preheat your waffle maker. If you’re iron is fancy, you might be able to set a temp. Experiment with this. Mine (a deep Belgian waffle iron) is just one temp and my waffles take between 4.5 to 5.5 minutes. You want to wait until most of the steam is done coming out. If you have a thinner type waffle maker, it might be a shorter timeframe.
Again, depending on the size of your waffle iron, you’ll want to use anywhere from ½ cup (120mL) to a full cup (240ml) measuring cups to scoop out some batter and pour/spread into the middle of the greased waffle maker. You don’t need to push it to the edges but I do. Close and let cook until the steam has almost COMPLETELY stopped from the waffle maker. Don't open it before the steam is finished!
Remove each waffle and place on a baking sheet in your oven or toaster oven on "warm" or 200F/95C to keep warm and crispy until finished with the entire batter. Continue with the rest of the batter.
Expert Tips & FAQ
When made properly, homemade vegan waffles taste like they’re fresh from your favourite diner or breakfast spot. Here are some of my top tips:
Test to ensure that your baking powder is still active. Let’s just say I’ve confidently whipped up a double batch of pancakes only to realise I had tossed my good baking powder and kept the expired one. We don’t want that! It’s very easy to test, and will make all the difference in getting your pancakes nice and fluffy!
Don’t overmix your batter. Like, seriously. Small lumps in a lumpy waffle batter is key for light and fluffy waffles.
Sifting your ingredients really helps with the fluffiness. If you don’t have a strainer, sieve or sifter, that’s okay, you can still make the recipe. I do recommend it, however.
While waffles aren’t as precise as baking a cake, I would still recommend weighing out your ingredients. It ensures the perfect consistency of the batter.
Ensure all your wet ingredients are room temperature. Cold soy milk doesn’t mix very well, so I always pull a new container (I usually make several batches of waffles at a time) OR I take my bottle from the fridge, pour out what I need and warm it up in the microwave so it's room temperature. If you’re planning ahead, you can always just leave it on your counter until it is room temperature.
Always lightly grease your waffle iron. Trust me.
ALWAYS let the steam from your waffle iron dissipate before you open the waffle iron. If there's still a lot of steam, it's still cooking!!
Freeze your vegan waffles so they last! I recommend flash freezing them, then heating them up in your toaster oven. They remain just as light and fluffy.